![]()
![]()
![]()
![]()
![]()
![]()
![]()
![]()
![]()
![]()
![]()
![]()
![]()
![]()
![]()
![]()
![]()
![]()
![]()
![]()
![]()
![]()
![]()
![]()
![]()
![]()
|
|
|
|
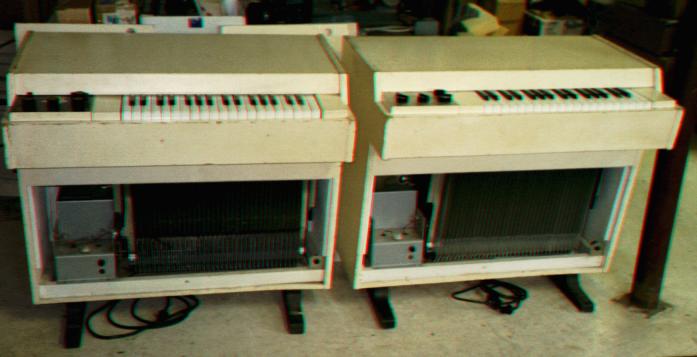
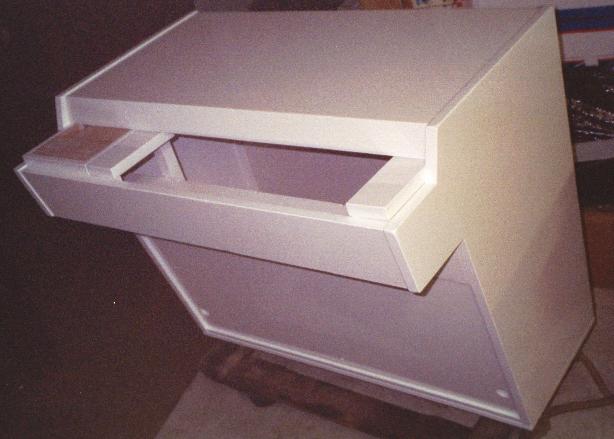
RESTORATION OF MELLOTRON M400 #310 & M400 #510 How do you go from this:
...to this?
It takes a lot of hard work. The first step is to gut the cabinets.
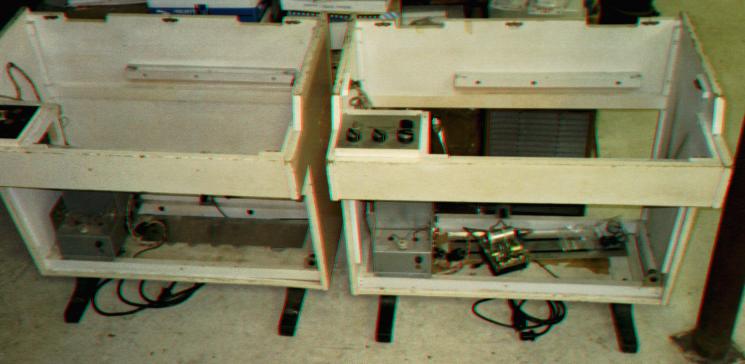
If you want to see how to disassemble a Mellotron M400, click here for a little detour. First up, the electronics.
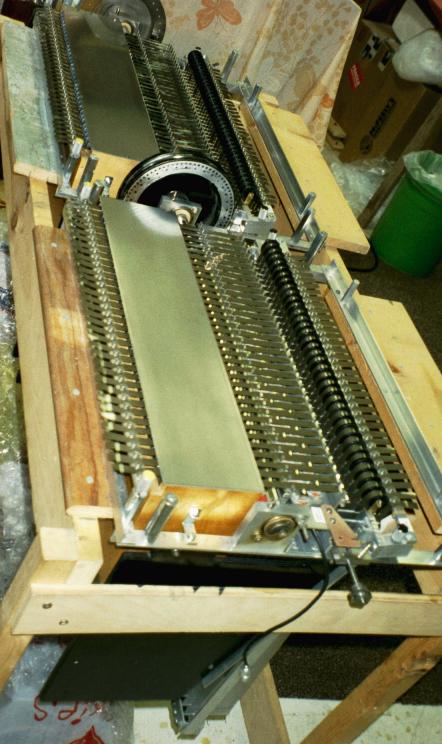
There ain't much to a Mellotron for electronics. You have a power supply, preamp, motor controller, and a motor. If you have the CMC-10 motor controller, you lose that and install a new SMS from Mellotron Archives or Streetly. There are test points on the motor controller to check voltages. Jerry, that one be 0.02V high (OK, .02V makes a difference in a Minimoog). Anyway, I can't really tell from the picture, but Jerry says that's an original SMS-2 from the 70s. Does your machine need a new motor controller? The SMS-2 from Streetly is just fine, and the SMS-5 from Mellotron Archives allows you a dual speed setting, which you can select with a toggle to instantly change speed settings on your 'tron. Mechanically there's a little bit going on in a Mellotron, and some would say the mechanical bits are a bit more touchy than the electronics.
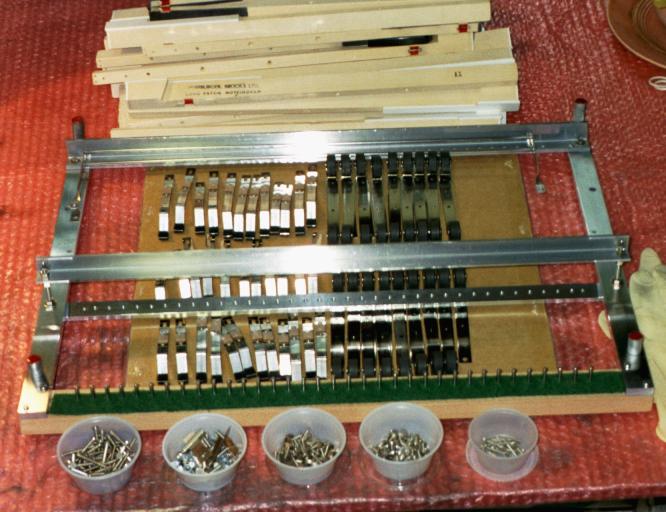
At the top of the above photo you have keys--35. In the middle is the key frame with 35 pad arms on the left and 35 pinch rollers on the right. The pad arms press the tapes to the tape heads when a key is pressed, and the pinch rollers squeeze the tape to the capstan so the tape will be pulled through the machine. At the bottom of the photo are cups with the various nuts, screws, washers, and bolts that hold the keyboard assembly together. Right underneath the keyboard is the frame assembly.
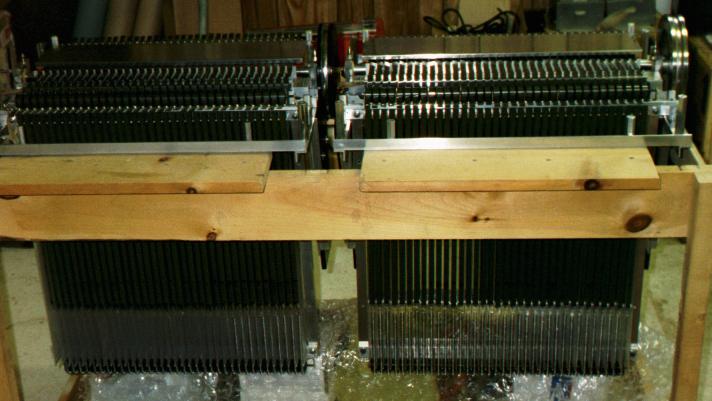
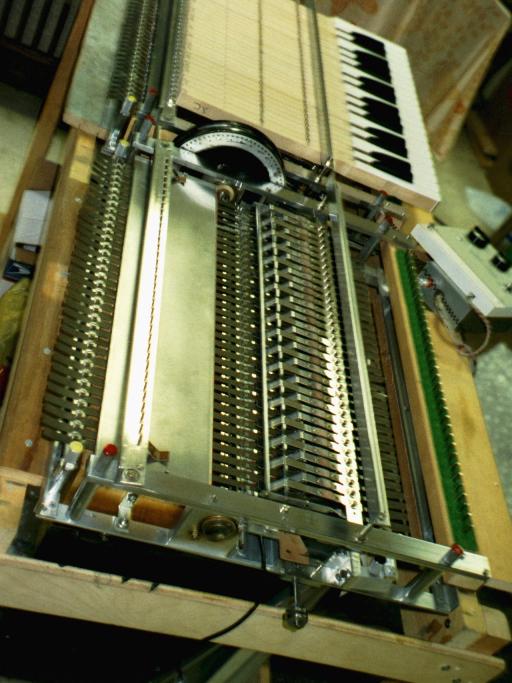
Jerry has a table that becomes a stand for Mellotron guts. His Mark I and Mark II restoration projects used this same stand. Here we have #310 and #500 looking nice and shiny. Here's a top view. The tapes are installed, as are the tape take-up box covers (the long, wide aluminum pieces) No keyboards.
Jerry had to make the take-up box cover for #310---it was missing. Yes, you do need one, as a Mellotron without one has a higher chance of having the tape fold back into the capstan, and in less time than it takes to say, "Noooooooo!!!", you're out a few quid for a new set of tapes.
Ahhh...very shiny. Here you have a keyboard frame without the keys. You can see all the pressure pad arms installed. The pinch roller arms are mounted underneath the keys. So once you've spiffitized the guts, how do you refinish the cabinet?
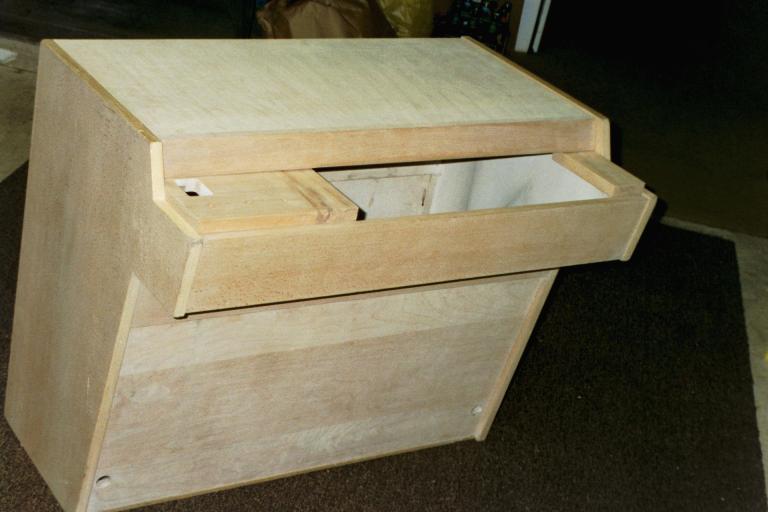
All the wood is stripped and sanded. #310 was due to get a new coat of white, while #500 was going to be stripped and stained. Jerry's own M400 was stripped and stained with various parts painted black, akin to the Chamberlin.
After the machine is prepped, a primer coat goes on:
You will notice in the above photo the addition of a piece of plywood underneath the machine. This is to help strengthen the bottom and prevent the little black Mellotron feets from crashing through. Solid now, this ain't goin' nowhere. And then the machine gets a finish coat:
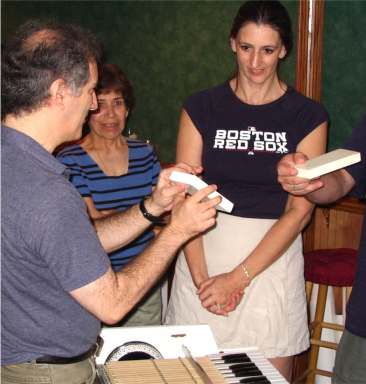
After the reinstallation of the frame and the electronics, this one will be ready for endless hours spent figuring out "Hero and Heroine". Refinishing Bernie's machine was a little more of a challenge. After the first coat of stain went on, additional old white paint started lifting out from within the wood, so Jerry had to go back to the stripping/sanding/prepping stage. So...Would Dave's M400 painted white with black feets and Bernie's M400 stripped and stained meet with approval cosmetically, mechanically, and electronically? Let's have a look at... The Finished Product! No, not yet! Let's do it right. It's always special to return a restored Mellotron to its owner. MONEYPIT was lucky to have two such events over the Summer of 2005.
Undecided? Click here. |