|


| |
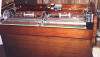
PINDERTRON / "Sharayah": Mellotron Mark II #134
WORK IS UNDERWAY
THE MECHANICALS AND ELECTRONICS
One of the first steps in the restoration was the recovery
of the old tapes.
For this operation Jerry devised what amounts
to a paper towel holder. The tapes were attached to a cardboard tube and
were simply cranked out.
These tapes were original to the machine
(mid-60's vintage). The right hand side tapes were completely intact.
Unfortunately the first four tapes from the left hand side and the pulse tape
were pretty bad off. New sets of tape were ordered for both the right and
left sides.
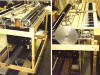
| How do you get the guts
out of a Mark II? |
 |
For both "Julia" and now "Sharayah" Jerry
hired a Genie Lift. These devices are normally used for hoisting car
engines, but with a few chunks of wood and some straps it's no problem
ratcheting out the innards of old Mellotrons.
Once separated and with the power pack and other devices removed, the
cabinet is pretty much a large box ready for refinishing.
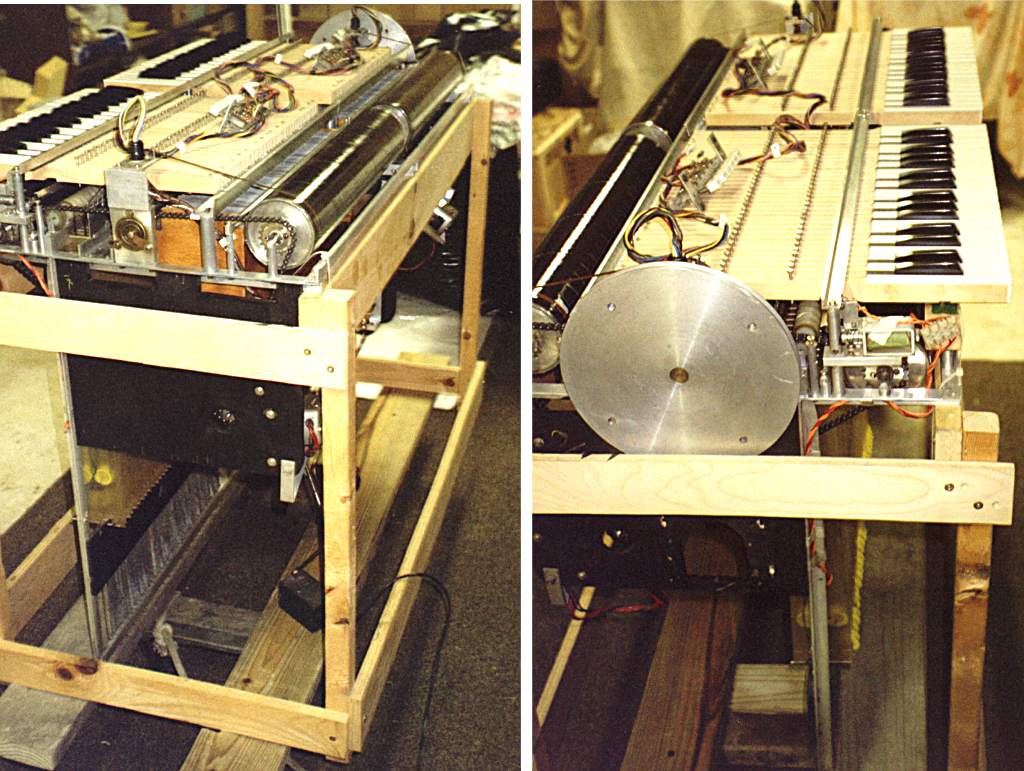
The innards (tape columns, tape drums, tapes, capstan,
keyboards, flywheel, and all that) can be placed into the "Skelotron", a
large purpose built jig.
All work can be done on the Mark II while
it's in this jig. Jerry disassembled it, cleaned up the parts, got it
all back together, threaded new tapes, powered it up, and adjusted and
tested the machine---all in the jig.
And when it's not holding up a Mark I/II's
inner workings, the jig serves as the base for a workbench! How's that
for dual use!
|
|
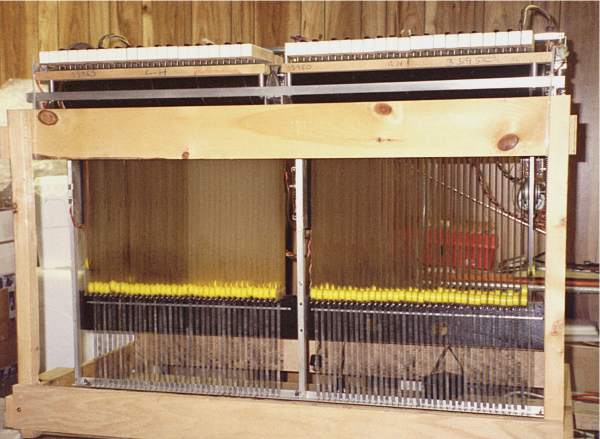
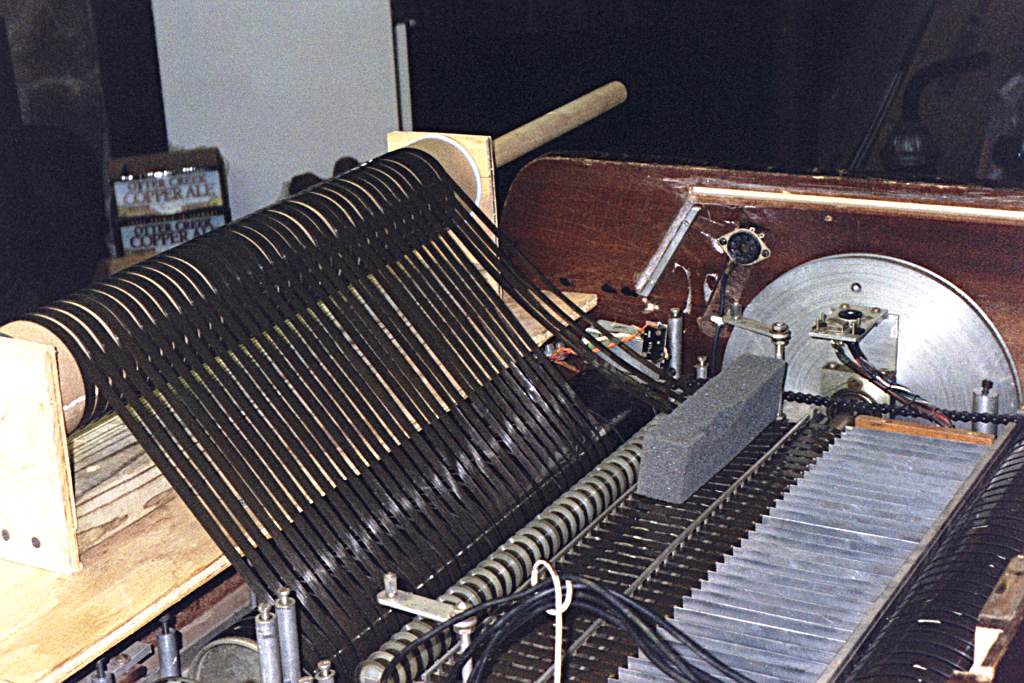
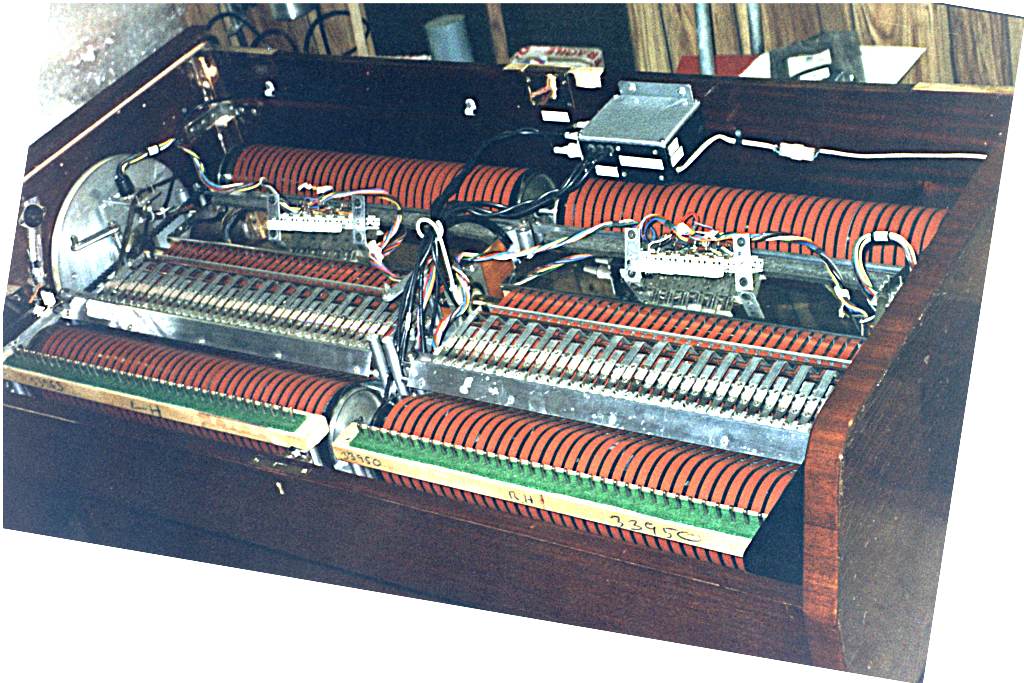
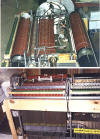
Mark II in "Skelotron" mode, tapes removed.
You can clearly see the tape columns. The yellow bits are the plastic
rotating
shuttles, which are the
wheels around which the tapes are guided to create the bottom of the "W"
as the tape snakes around.
These
shuttles are attached to springs. Atop are the fronts of the keys. |
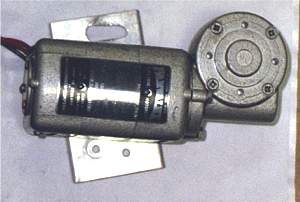 |
Cycling motor.
This Parvalux brand cycling motor is normally found in
SFX/M300 models. The motor is used to drive the chain that changes the
tape stations on the Mark I/II/M300. On the underside of the round part in
the upper right corner of the picture is a gear that fits into the chain. |
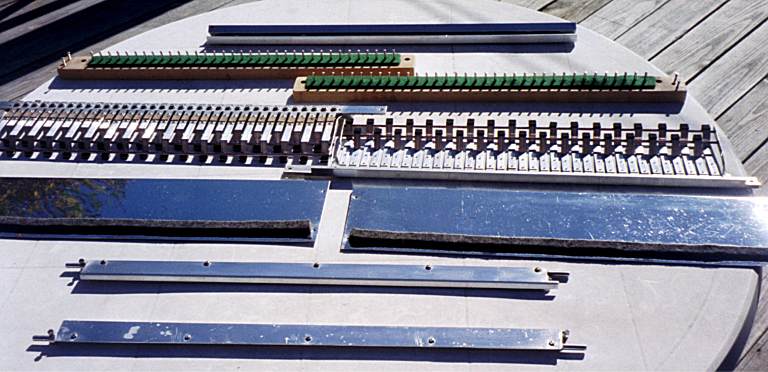
Everything was disassembled and polished up nicely.
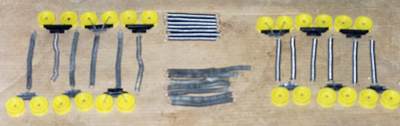 Old vs. new springs. Bit of a difference,
huh?
Old vs. new springs. Bit of a difference,
huh?
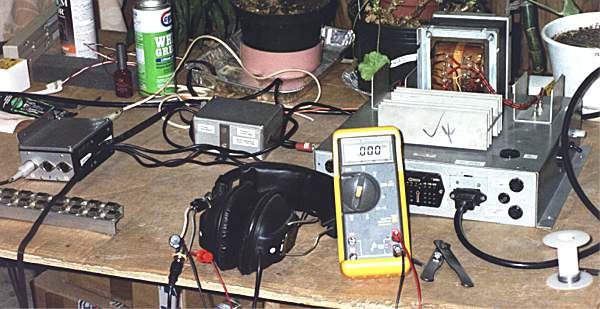
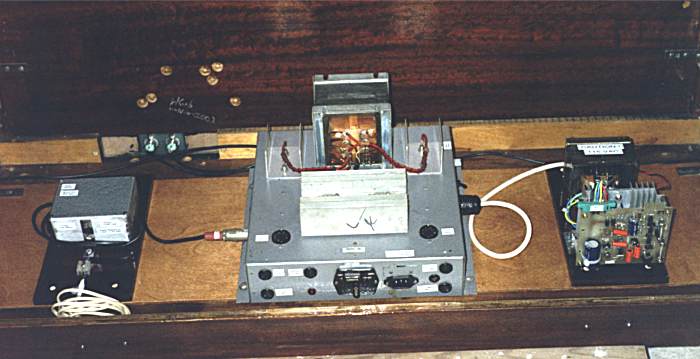
Bench testing the power supply and Mike Pinder preamp
 Assembling the Mark II in the Skelotron for testing
New Streetly motor fitted
 |
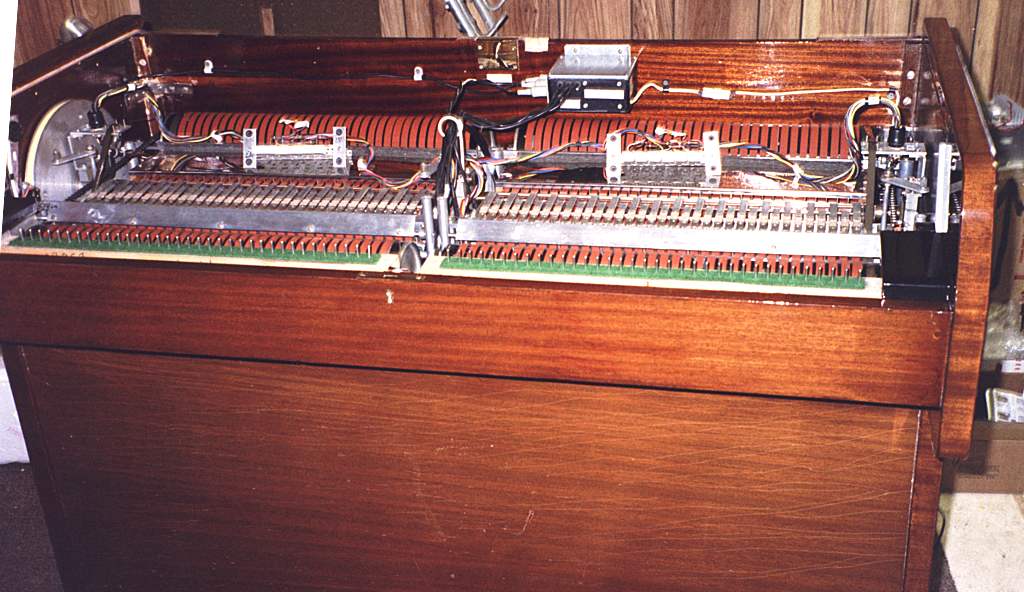
"Sharayah" nears completion.
All the mechanicals and electronics have been done.
The machine's cycling has been tested (it is essential to get that right,
or you wind up with spaghettification).
Jerry did some more testing and corrected some
latent station selection burps, and then it was time to get the Genie Lift
back to hoist the unit back into the cabinet. |

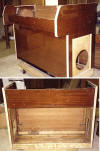
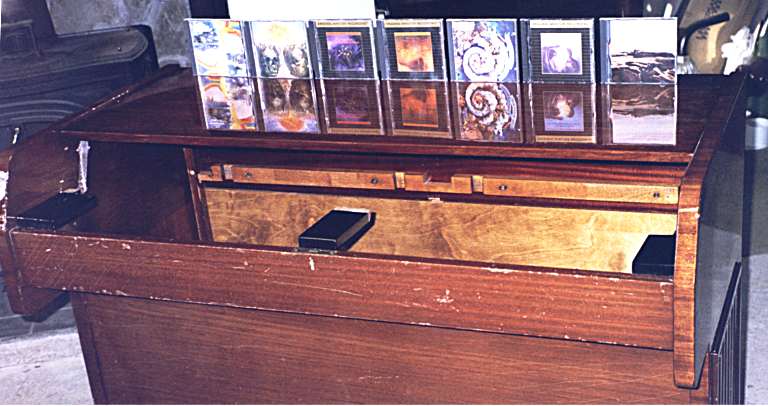
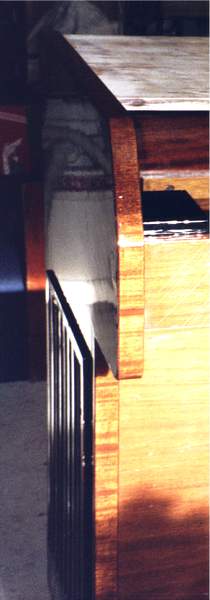
THE CABINET
| As you probably noted in the
"before" pictures, Mark II #134 was gigged
extensively over the years. I would have expected the cabinet to be in
worse shape than it was, but it was still a lot of work to get right.
Frank gave Jerry his marching orders: fix it up,
but don't lose the "pedigree" of a machine owned by Mike Pinder that had
been gigged for all those years. Now Jerry had to figure out what to
fix and where to stop!
Jerry removed the veneer from the top and edges.
This veneer was badly damaged and needed to be replaced. The sliding
top was damaged so it didn't slide anymore---in fact, it was held in by duct
tape!
The rear lower crossmember had some large chunks taken
out, so this was repaired as well.
The right and left side panels had some nasty damage near the
bottom, and this veneer was replaced and blended in with the existing
veneer.
A minor change included moving the Mike Pinder preamp
from the crossmember under the lid to the back of the machine and replacing
that crossmember with one a bit more befitting the machine (rather than a
hacked chunk of 2x4).
In addition, the insides of the cabinet were covered
in grunge from years of storage and being the receptacle for too many
spilled stouts, and this was sanded out and refinished. Jerry also
tightened up the cabinet bracing.
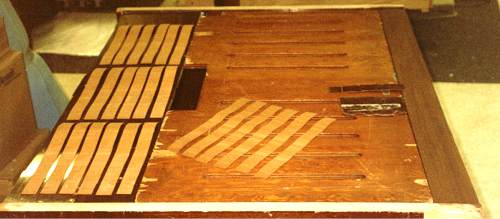
Strips of veneer getting ready to be applied |
 |
|
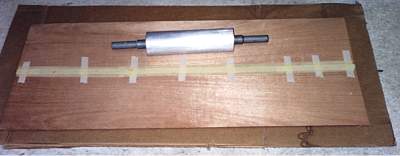
Veneer applied to the top.
Jerry, I think Mali would like her rolling pin back now. |
Don't take it for granted that this veneer is
peel-and-stick. It takes a great deal of skill to get this done right, and,
fortunately, Jerry had a great teacher--his father--who was a real whiz at this
type of work.
After carefully chiseling off the old veneer, applying new
material, and refinishing, the results are stunning.
|
The top shines like a mirror.
How do you get a 'tron to shine like
that? The original 'trons had a thick flowcoat. Unfortunately
this material tended to crack after several years. Repairing the old
flowcoat is difficult---it has to be sanded off and reapplied. Many 'tron
restorers simply give up and paint the machine, burying all the beautiful
mahogany veneer. Jerry takes his time and removes the flowcoat on the
critical areas and applies a new formulation that's available today.
It looks about seven feet thick and shines nicely.
In the above photo the board under the
keyboards has not been repaired. Frank didn't want Jerry to do
anything more than he'd already done, but Jerry was unhappy with the look of
the machine. People will notice the top and front the most, so Jerry
got fed up and fixed that front piece as well. Even Frank admits that
Jerry was right on that one---good call, Prof! |
 |
In addition to the top and the edging,
Jerry replaced the lower part of the veneer on the right and left sides and the veneer
on the rear lower crossmember.
All other areas of the machine had the
flowcoat buffed to remove many of the scratches yet still preserve the
"pedigree".
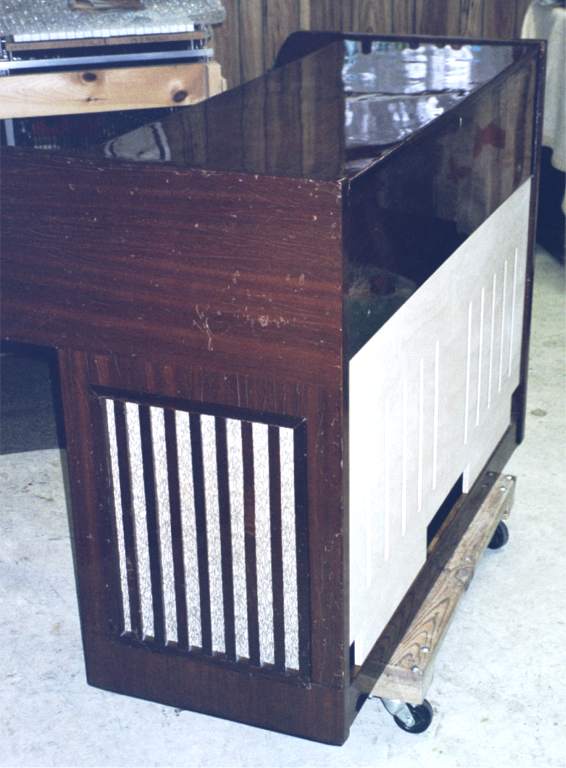
Note the original speaker grille cloth in
the above photo. Also check out the replacement rear panel Jerry
created to match the old one with the large slots.
|
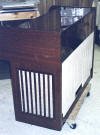
REASSEMBLY
With the cabinet done and the electronics all checked out,
it was time to break out the Genie Lift and bring #134 back together.
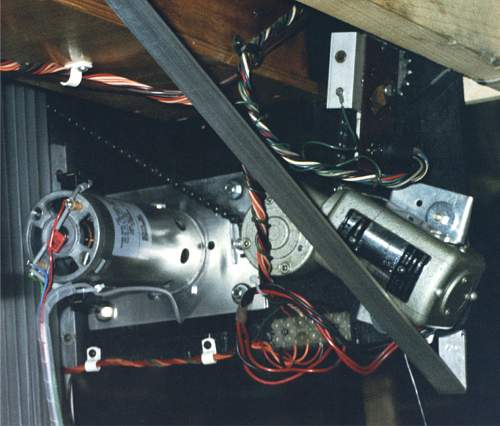
Getting the power pack and motor controller in place.
 We're almost ready for the unveiling!
|